
All 30 Resident Evil Requiem Challenges Explained for Your Second Playthrough
Essential Challenge Breakdowns and Tactical Tips for Your Next Survival Run

Congradulations for completing your first play through of Resident Evil Requiem. But it is just the beginning of this fantastic game. This article breaks down the Challenges that unlock more exciting adventures in RE9.
The second playthrough is where the game truly opens up—mechanics deepen, encounters evolve, and the 30 in-game challenges push you to engage with systems you may have only skimmed the first time. This guide breaks down each challenge, what it really asks of you, and how to approach it efficiently on your next run.
Strategic Advice for Your Second Playthrough
A second run isn’t just about doing more—it’s about doing things smarter:
Route planning matters: Combine multiple challenges in one run where possible.
Specialize your build: Focus on one weapon for upgrades and one for crowd control.
Master parrying early: It trivializes many encounters later.
Save rare ammo: Requiem shots and injectors are for challenges, not general combat.
Think like a speedrunner: Even if you’re not rushing, efficiency helps with survival.
All 30 Challenges Explained
Progression & Story Milestones
These are largely unmissable, but understanding their pacing helps optimize routing and resource use.
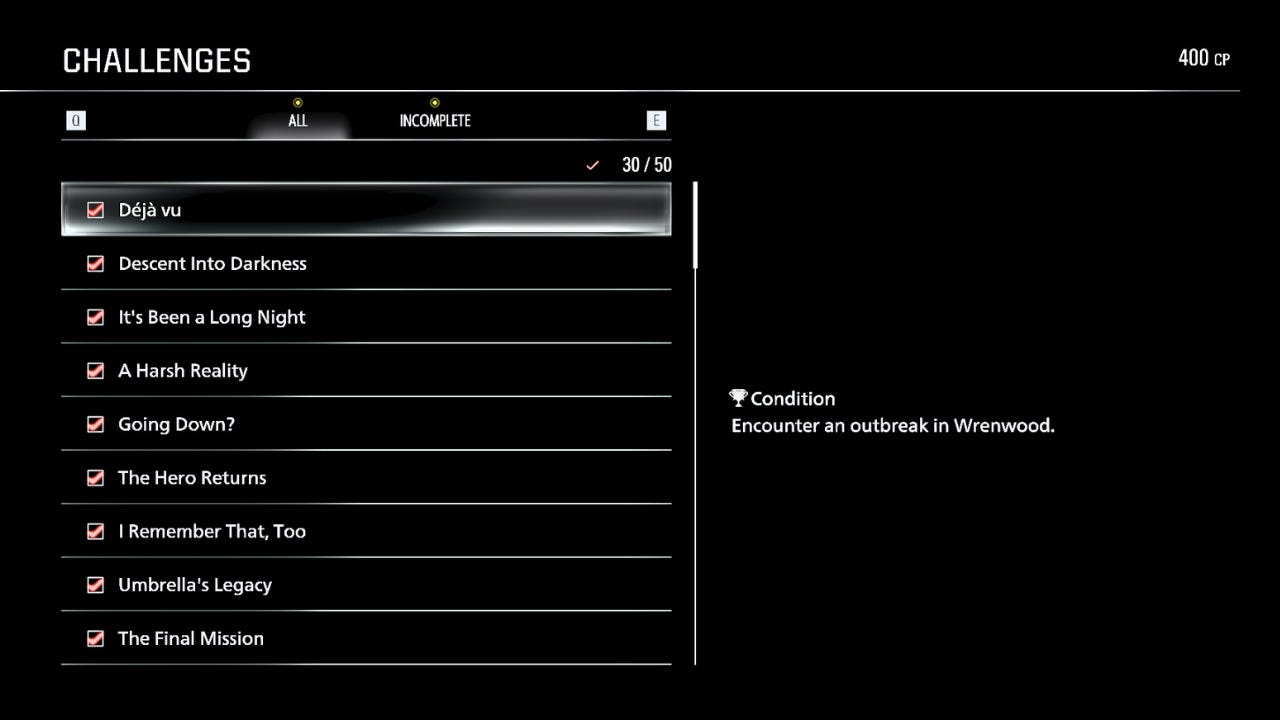
1. Déjà vu: The Wrenwood Incident
The Vibe: A chillingly familiar nightmare in a new setting.
Wrenwood serves as your “Combat Kindergarten.” While the atmosphere is thick with dread, the enemies here are intentionally sluggish. This is the best time to calibrate your settings and get a feel for the physics of the world.
Strategy: Don’t get greedy with ammo. Practice the Perfect Dodge on the isolated shamblers near the gas station. If you can master the timing here, the rest of the game becomes significantly more manageable.
Key Lesson: Every bullet saved in Wrenwood is a bullet you’ll desperately need once you hit the Care Center.
2. Descent Into Darkness: The Sub-Levels
The Vibe: Claustrophobia as a gameplay mechanic.
The transition to the basement levels of the Care Center shifts the game from “Action-Horror” to “Survival-Horror.” The corridors are narrow, making it impossible to run past enemies without a plan.
Strategy: Use the Flashlight sparingly—light attracts certain “crawling” variants. Lean into stealth kills using the hatchet to preserve your handgun magazines.
Pro Tip: Listen for the sound of scraping metal; it indicates an enemy is around a corner before your light can even catch them.
3. It’s Been a Long Night: The Courtyard
The Vibe: A false sense of freedom under a blood-red moon.
The Courtyard is the first time the game throws threats at you from 360 degrees. Between the verticality of the balconies and the bushes hiding “Stray Dogs,” your spatial awareness will be pushed to the limit.
Strategy: On a second run, prioritize the Bolt Cutters to open the side gate immediately. This bypasses the most dangerous ambush in the center of the garden.
Focus: Keep moving. If you stand still to aim for more than three seconds, something is likely sneaking up behind you.
4. A Harsh Reality: The Great Escape
The Vibe: The realization that nowhere is truly safe.
Escaping the Care Center is a marathon, not a sprint. This segment forces you to manage a dwindling inventory while the game introduces “Pursuer” mechanics where certain enemies will follow you through “Safe” rooms.
Strategy: Stop hoarding your Green Herbs. If you’re in “Caution” status, heal. The enemies in this transition phase have higher crit chances, and a sudden death here can set you back significantly.
Inventory Tip: Discard key items the moment they get the “Checkmark” in your menu to free up slots for ammo.
5. Going Down?: The Lift Gauntlet
The Vibe: A high-speed, high-stakes combat arena.
The suspended platform is a classic Resident Evil set-piece. You are trapped in a moving box while waves of enemies drop from above or climb the sides.
Strategy: Use Environmental Hazards. There are fuel canisters on the platform—don’t blow them up immediately. Wait until the platform is swarmed to get the most “bang for your buck.”
Weapon Choice: This is the time to pull out the Shotgun. It’s the king of “crowd control” in confined spaces.
6. The Hero Returns: Raccoon City Centre
The Vibe: Urban decay and tactical exploration.
Arriving at the City Centre marks the midpoint of the game. The map opens up, offering multiple paths to the same objective. This is where your knowledge of shortcuts becomes your greatest asset.
Strategy: Focus on the Supply Boxes near the subway entrance first. These contain the parts for the “Long Barrel” upgrade, which is essential for the long-range engagements coming up.
Replay Tip: Memorize the “Safe Code” locations early to grab the Magnum rounds hidden in the pharmacy.
7. I Remember That, Too: The T-501 Super Tyrant
The Vibe: A brutal reminder of Umbrella’s greatest successes.
The T-501 is a “Skill Check” boss. He is designed to punish players who rely solely on distance. If you just run, he will eventually catch you with his leap attack.
Strategy: Stay close to his “Small Arm” side. His attacks are more predictable there.
The Key: You must parry his overhead swing. A successful parry stuns him for four seconds, allowing you to land a high-damage weak-point shot on his exposed core.
8. Umbrella’s Legacy: Finding the ARK
The Vibe: Solving the puzzle of a dying conspiracy.
The hunt for the ARK entrance is heavy on environmental puzzles and backtracking. The challenge here isn’t the combat, but the mental map you build of the facility.
Strategy: Combine your notes. The clues for the entrance are scattered across three different floors.
Efficiency: Use the Map’s “Room Clearing” feature. If a room is red, there is still a key item inside. Don’t leave a floor until every room is blue.
9. The Final Mission: The Depths of ARK
The Vibe: All-out bio-organic warfare.
The lowest levels of the ARK are where the game stops holding back. You’ll face every enemy type you’ve encountered, often in mixed groups (e.g., a Licker paired with Shamblers).
Strategy: Bring a Balanced Loadout. You need the Handgun for precision, the Shotgun for space, and the Requiem for the heavy-hitters.
Resource Management: This is the “End of the World” moment—if you have grenades left, use them. There’s no point in saving them for a final boss if you die in the hallway.
10. Hope and Requiem: The Final Curtain
The Vibe: A hard-earned victory.
Completing the main story is just the beginning of the Requiem experience. Your final rank (S, A, B, or C) is calculated based on time, saves, and healing items used.
The Reward: Clearing the story unlocks New Game Plus and the “Infinite Combat Knife,” which is essential for attempting the higher “Agent” difficulty ranks.
Strategy: For your first completion, don’t worry about the timer. Focus on seeing every ending and unlocking the “Master Chemist” achievement to make your next run easier.
Difficulty-Based Challenges
These define your mastery curve.
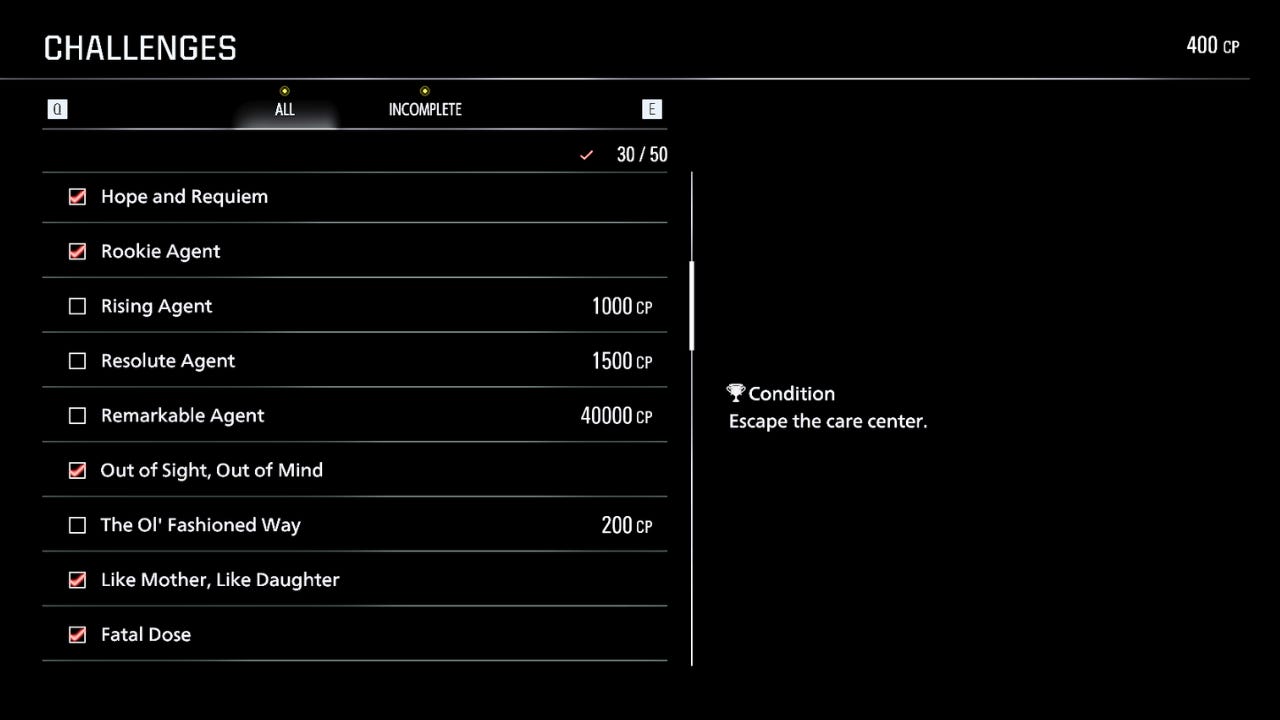
11. Rookie Agent: Casual Difficulty
The Vibe: A focused “Power Trip” and Lore hunt.
This mode is designed for those who want to experience the narrative without the constant threat of a “Game Over” screen. Enemies have significantly reduced health and aggression, and your own resilience is bolstered.
Key Features: Stronger Aim Assist, generous ammo drops, and automatic health regeneration (up to a certain threshold).
Best For: Completing missed achievements, hunting for hidden collectibles, or testing out high-powered unlockable weapons without pressure. It’s the perfect playground for experimentation.
12. Rising Agent: Standard (Modern)
The Vibe: The “Goldilocks Zone” of modern survival horror.
This is the intended experience for most players on a second playthrough. It strikes a curated balance between tension and capability. Resources are sufficient if you’re accurate, but wastefulness will still leave you clicking on an empty chamber.
Key Features: Checkpoints are frequent, and the game utilizes “Dynamic Difficulty” to subtly adjust to your performance.
Best For: Those who want a cinematic experience that respects their time while still demanding respect for the monsters lurking in the halls.
13. Resolute Agent: Standard (Classic)
The Vibe: A love letter to the 1990s survival horror roots.
“Resolute” strips away the safety nets of modern gaming. It’s not just about how well you shoot, but how well you think. Combat is harsher, but the real challenge lies in the logistics.
Key Features: Limited Saves (requires Ink Ribbons or a similar consumable), no auto-saves, and significantly reduced inventory space. Enemies are placed in more “tactical” positions to catch you off guard.
Best For: Veterans who miss the anxiety of a long trek back to a Typewriter. Every door opened is a risk, and every save is a milestone.
14. Remarkable Agent: Insanity Difficulty
The Vibe: A harrowing, perfectionist nightmare.
This isn’t just a game mode; it’s a test of memory and discipline. In Insanity, the environment itself is your primary antagonist. A single mistake—a missed shot, a wrong turn, or a wasted herb—can end a run.
Key Features: Enemies are faster, more resilient, and can often one-shot a player in “Caution” status. Resources are so scarce that you must often choose between killing a single enemy or saving that ammo for a boss.
Best For: The elite. You must master the “Art of the Dodge” and know the map layout by heart. If you aren’t running away from 70% of encounters, you likely won’t survive the final act.
Combat Mastery Challenges
15. The Hunt Begins: Survival Instincts
The Vibe: A frantic game of “Hide and Seek” where you are the prey.
Your first encounter with “The Girl” is designed to induce panic. She is faster than you and currently invulnerable to your standard arsenal. This challenge isn’t about fighting back—it’s about spatial awareness.
Strategy: Use the environment to your advantage. Look for tight corners and loopable obstacles like tables or kitchen islands.
Pro Tip: Listen for the humming; the louder it gets, the closer she is. Don’t waste your bullets—save your stamina for the final dash to the cellar door.
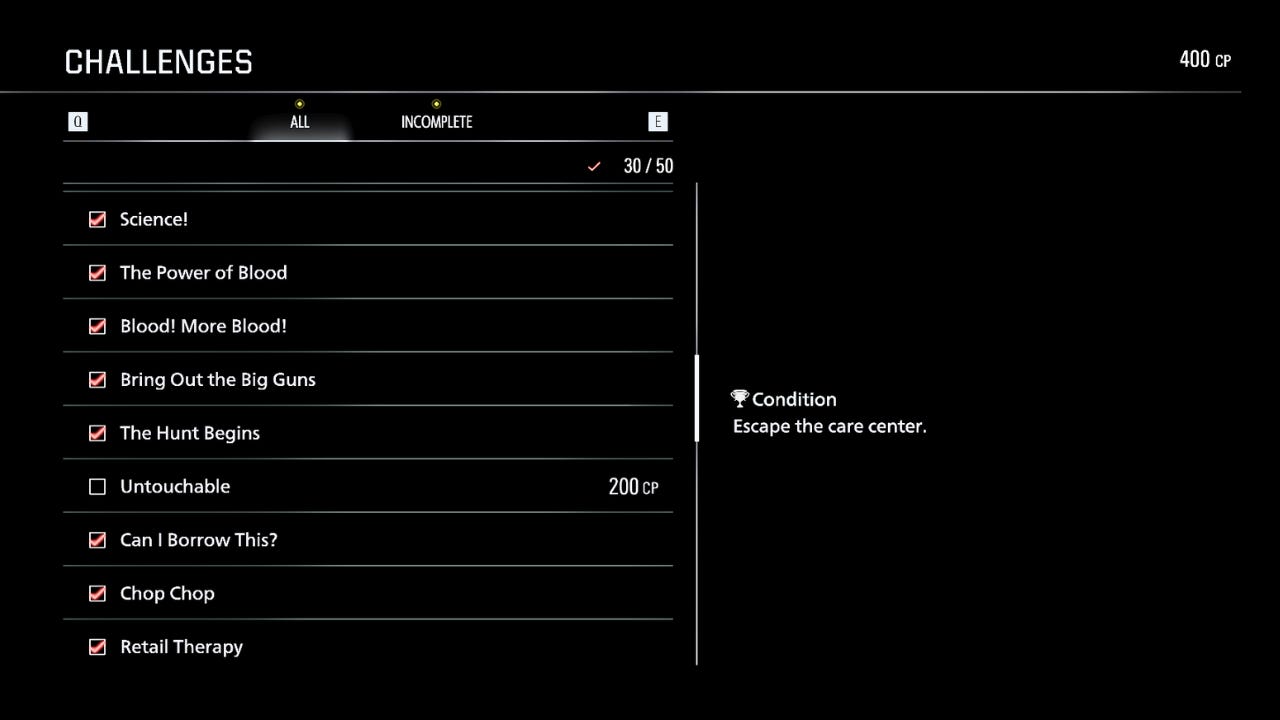
16. Untouchable: Master of Defense
The Vibe: Precision under pressure.
The parry mechanic is the difference between life and death in Requiem. A successful parry doesn’t just negate damage; it often creates a massive opening for a counter-attack.
Strategy: Watch the enemy’s shoulders. Most enemies have a “tell” right before they lung. Tap the block button just as the swing enters your personal space.
Practice: The “Shamblers” in the courtyard are slow and predictable—perfect for getting your rhythm down before you face the more erratic variants.
17. Can I Borrow This?: Environmental Theft
The Vibe: Scrappy, desperate improvisation.
Ammo is a luxury, but the environment is full of “disposable” lethality. Many enemies carry makeshift tools that they drop when staggered by a limb shot.
Strategy: Aim for the knees or the weapon arm. Once the enemy flinches and drops their pipe or cleaver, sprint in and interact to heavy-throw it back at them.
Benefit: This is an excellent way to thin out a crowd without spending a single casing.
18. Chop Chop: The Executioner
The Vibe: Calculated brutality.
The Hatchet is your most reliable friend when things get messy. However, the finisher move is a high-risk, high-reward animation that leaves you briefly invulnerable but requires precision setup.
Strategy: Use your handgun to “soften” enemies. Two shots to the chest usually put a standard zombie into the “Staggered” state (marked by a subtle yellow glow or a slumped posture).
Execution: Close the distance quickly and initiate the prompt. It’s an instant kill that saves you from a prolonged melee brawl.
19. Bang For Your Buck: Maximum Efficiency
The Vibe: The ultimate “clearing the room” moment.
The Requiem shot is a high-yield explosive or piercing round (depending on your upgrades). This challenge rewards patience and “kiting” skills.
Strategy: Don’t fire at the first enemy you see. Backpedal into a narrow hallway or a doorway to force the AI to “stack” behind one another.
Execution: Wait until you see three silhouettes overlapping in your sights. Aim for the center mass of the middle enemy to ensure the splash damage or penetration covers the trio.
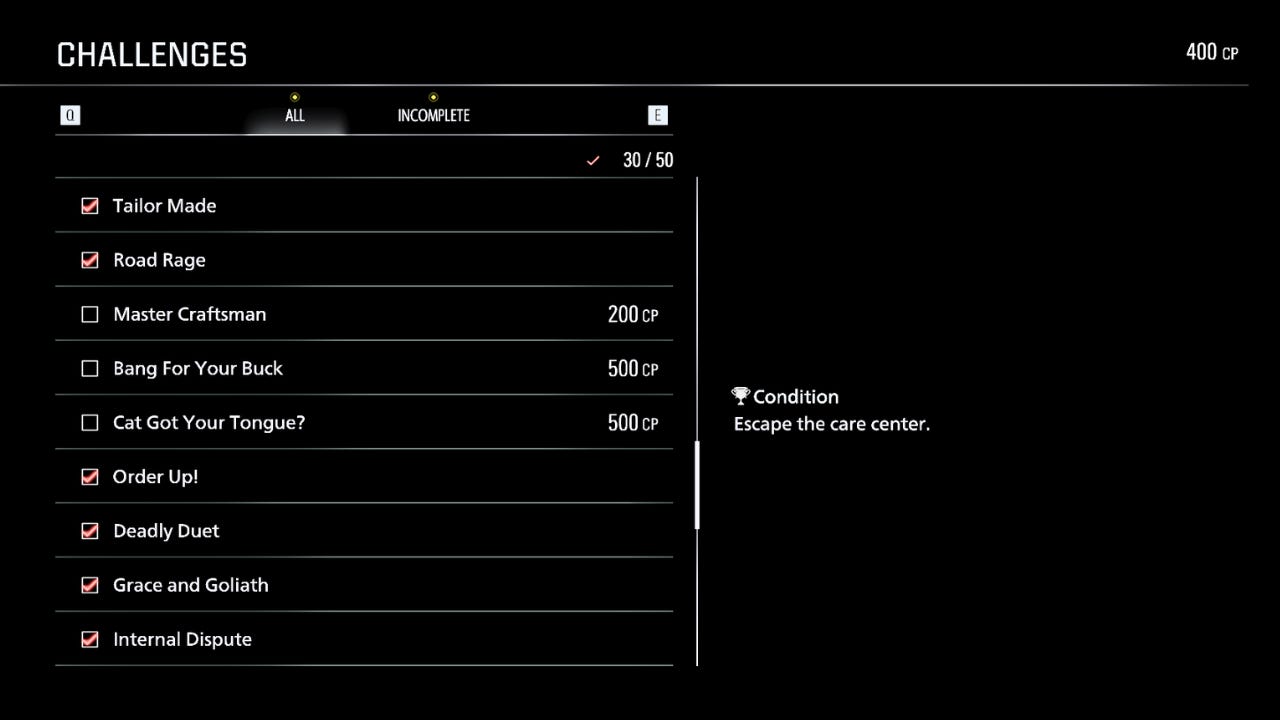
20. Cat Got Your Tongue?: The Ultimate Reflex
The Vibe: Shutting down a nightmare.
Lickers are the bane of any run, and their long-range tongue lash is their most frustrating move. Parrying it requires nerves of steel and perfect frame-timing.
Strategy: Maintain a medium distance. When the Licker recoils its head and sways slightly, it’s about to lash out.
The Window: Hit the parry button the moment you hear the “hissing” sound of the tongue extending. Success will leave the Licker stunned and vulnerable to a follow-up hatchet strike.
21. Internal Dispute: Tactical Manipulation
The Vibe: Let them do the dirty work for you.
Blind Zombies (Hearing-based) and Maid Zombies (Screamers) have a volatile relationship. You can use their unique AI behaviors to trigger “friendly fire.”
Strategy: Lead a Blind Zombie toward a Maid Zombie. Stand near the Maid and throw a brick or fire a shot to make her scream.
The Result: The Blind Zombie will interpret the Maid’s scream as a threat and lunge. If you’ve positioned yourself correctly, you can slip away while they tear each other apart.
22. Bring Out the Big Guns: Stopping Power
The Vibe: Turning the tables on your stalker.
“The Girl” is relentless, but she isn’t unstoppable. A well-placed Requiem headshot is one of the few things that can actually drop her to one knee, buying you precious minutes of exploration time.
Strategy: This is a “Stop or I’ll Shoot” moment. Wait for her to begin her “Lunge” animation—her head will be most stable during this wind-up.
Warning: Requiem ammo is the rarest resource in the game. Only attempt this if you are trapped or need to clear a room she is guarding heavily.
23. Fatal Dose: Chemical Warfare
The Vibe: A clinical end to a messy problem.
The Hemolytic Injector is a specialized tool that injects a necrotic agent directly into the bloodstream. It’s an “all-in” move because it requires you to be in grappling range.
Strategy: This is best reserved for “Elite” enemies or mini-bosses with high health pools.
Execution: Bait an attack, dodge, and use the injector prompt while their back is turned. The chemical will do the rest, melting their health bar over several seconds while you retreat to a safe distance.
Resource & Upgrade Challenges
24. Retail Therapy: Economic Foundation
The Vibe: Capitalism is the only thing the virus couldn’t kill.
Supply boxes are your lifeline in the field. This challenge isn’t just about spending; it’s about acknowledging that you cannot survive on found loot alone. Opening that first box triggers the “Merchant” flag, allowing you to see supply nodes on your map for the rest of the game.
Strategy: Buy a storage expansion or basic medicine as soon as you find the first terminal in the safe room.
Pro Tip: Don’t hoard your currency in the early game—investing in utility early pays dividends in survivability during the first boss.
25. Tailor Made: Maximum Lethality
The Vibe: This is my rifle; there are many like it, but this one is mine.
The upgrade system in Requiem is expensive. If you try to upgrade every gun you find, you’ll end up with a trunk full of mediocre hardware. This challenge rewards the “specialist” mindset.
Strategy: Choose a “Workhorse” weapon—usually the Standard Issue Handgun or the Survival Hatchet.
The Goal: Focus all your blood samples and scrap into one weapon until you hit the “Exclusive” upgrade. A fully kitted handgun is often more lethal than a base-level Magnum.
26. Blood! More Blood!: The Great Harvest
The Vibe: Leaving no corpse un-looted.
Microsamples are the primary currency and crafting component in Requiem. Collecting 300 sounds daunting, but it encourages a “scorched earth” playstyle where you leave no room unchecked.
Strategy: Don’t just walk past downed enemies; use the Sample Extractor tool on them. Lab areas and surgical theaters contain high concentrations of loose samples in vials.
Warning: The game tracks cumulative samples, so feel free to spend them—you don’t need to hold 300 at once to trigger this.
System & Mechanic Challenges
27. Science!: The Lore Hunter
The Vibe: Stopping to smell the... antiseptic.
The Blood Lab is a high-tension area, and many players sprint through it to avoid the prowling Bio-Organic Weapons (BOWs). However, the Analyzer provides critical context for the plot and reveals enemy weaknesses.
Strategy: Clear the immediate room of “Maid Zombies” before interacting with the terminal.
Reward: Using the analyzer often updates your “Bestiary,” giving you a damage bonus against the enemy types you’ve scanned.
28. The Power of Blood: Hematic Alchemist
The Vibe: Better living through bio-hazardous chemistry.
The Blood Collector is a specialized crafting station that goes beyond basic herb mixing. It allows you to create high-tier items like “Adrenaline Shots” or “Corrosive Rounds.”
Strategy: Look for “Pure Samples” in refrigerated units within the labs. Combining these with your standard microsamples at the Collector is how you access the game’s most powerful consumables.
Benefit: Crafted items from the Collector often have secondary effects, such as temporary stamina boosts or increased parry windows.
Situational & Set-Piece Challenges
29. Road Rage: Anti-Ballistic Reflexes
The Vibe: Fast & Furious, but with more mutants.
The highway chase with Victor is a high-speed set piece. When he readies his rocket launcher, the screen’s borders will pulse red. This is your cue to act—not to dodge, but to strike.
Strategy: Keep your most accurate weapon loaded. You don’t need to kill him; you just need to land a shot on the launcher’s battery pack or Victor’s head during the 2-second wind-up.
Outcome: Successfully interrupting the attack prevents a massive amount of “Vehicle Damage” and grants you a window to pour lead into his weak points.
30. Out of Sight, Out of Mind: Ghost in the Machine
The Vibe: Hide-and-seek with lethal stakes.
Playing as Grace is a different experience—she lacks the heavy weaponry of the other protagonists. This challenge highlights her unique ability to use Item Boxes as hiding spots, a mechanic that subverts the traditional “safe zone” logic.
Strategy: During pursuit sequences, if you break the enemy’s line of sight, you can climb into an Item Box.
The Twist: While inside, you can still manage your inventory and move items to other boxes, effectively “teleporting” supplies to a future safe room while you wait for the threat to pass.
On with the Adventure
The brilliance of Resident Evil Requiem lies in how these challenges reshape your understanding of the game. What felt like a linear survival horror experience becomes a layered system of risk, precision, and planning.
I hope this break down helps you in your gameplay and gives you the necessary understanding to get the most out of the Resident Evil Requiem adventure.
― ZzennGame Reviews and Guides